Optical vs. Tactile Measurement Probes
2026-01-24 12:37Optical vs. Tactile Measurement Probes
Contact vs. Non-Contact Data Acquisition
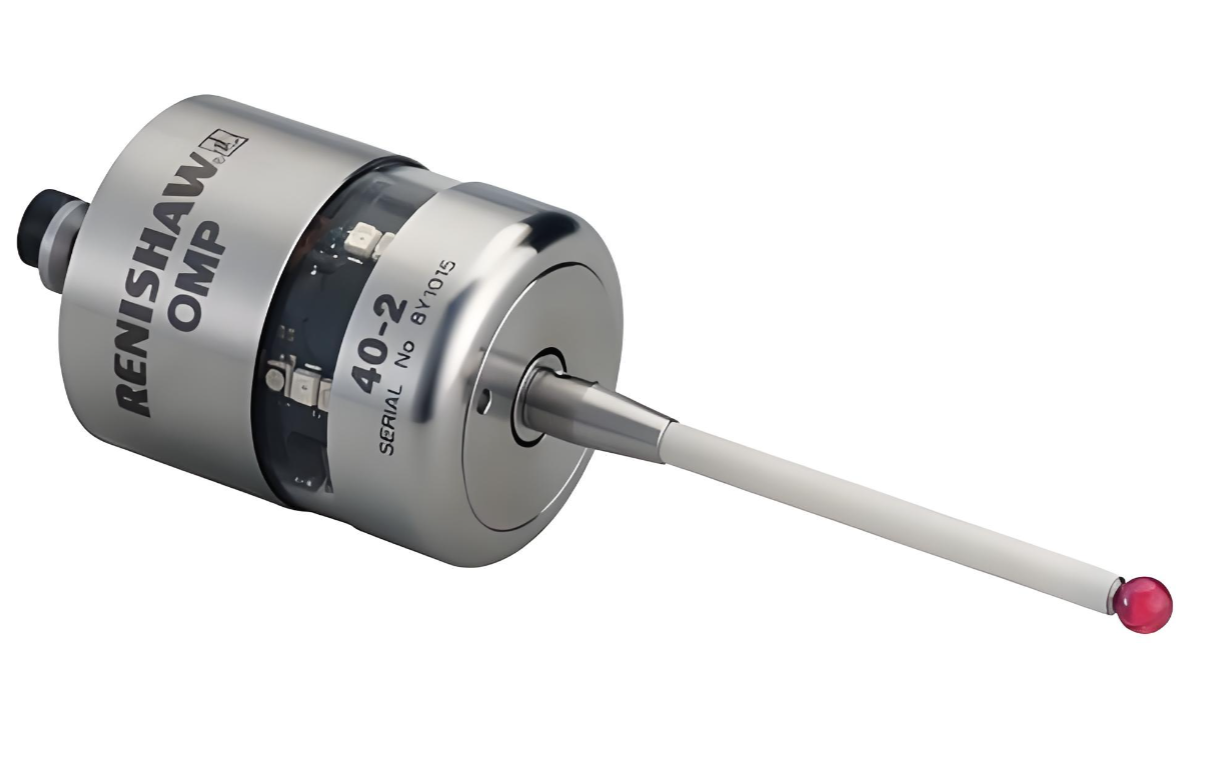
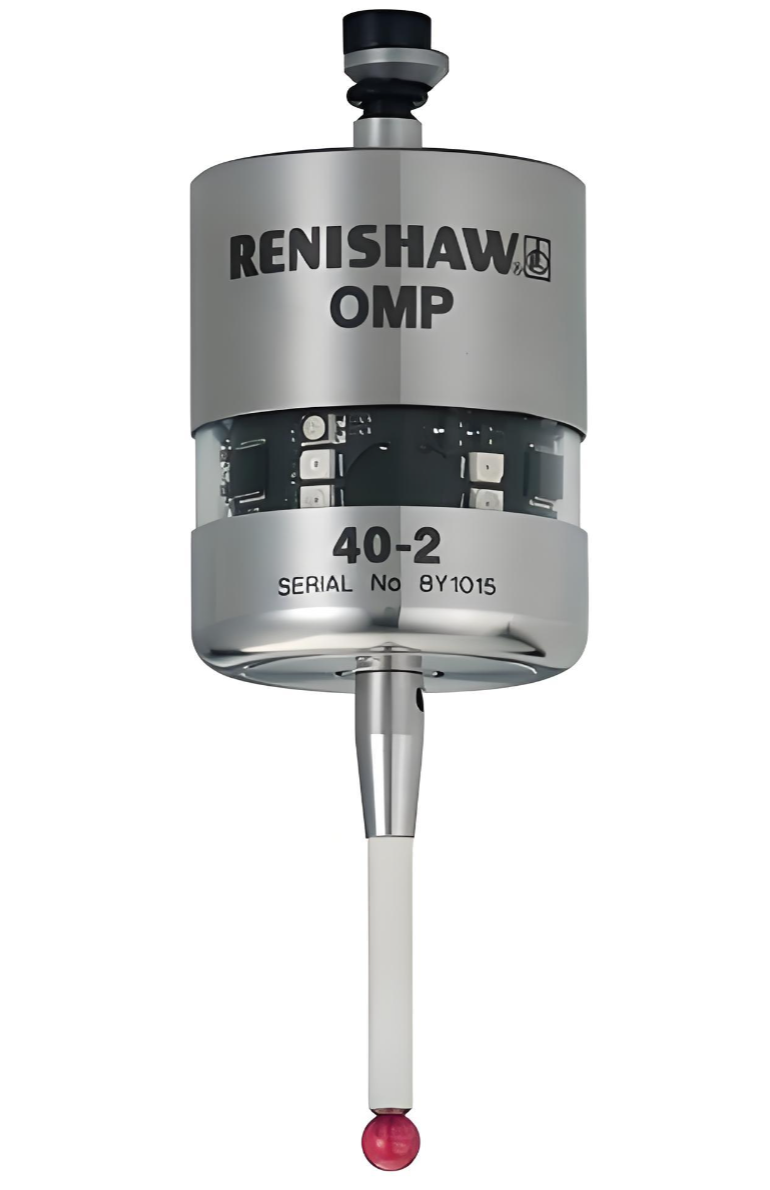
The most fundamental distinction between tactile and optical probes lies in their method of data acquisition. Tactile probes, also known as touch-trigger or scanning probes, operate by physically contacting the surface of the part. A precision ruby tip touches the component, and the machine's coordinate system records the point of contact. This method provides direct, highly reliable data for discrete points, making it exceptionally accurate for measuring well-defined geometric features like holes, bosses, planes, and cylinders. The physical contact ensures that the measurement is largely immune to surface conditions such as color, reflectivity, or transparency. In contrast, optical probes, which include laser scanners and vision systems, capture data without any physical contact. They project light (e.g., a laser line or structured light) onto the object and use cameras or sensors to analyze the deformation of this light pattern to calculate surface coordinates. This non-contact approach allows for the rapid capture of millions of data points, creating a dense "point cloud" that perfectly represents the complex, free-form contours of a part. However, the accuracy of optical measurement can be influenced by surface properties; shiny, transparent, or dark surfaces may pose challenges by reflecting or absorbing light in unpredictable ways.

Precision Geometry vs. Comprehensive Surface Mapping
The choice between probe types is primarily dictated by the application's specific requirements. Tactile probes excel in applications demanding high absolute accuracy on specific geometric characteristics. They are the industry standard for rigorous Geometric Dimensioning and Tolerancing (GD&T) analysis, such as verifying the true position of a hole, the flatness of a mounting surface, or the diameter of a precision shaft. Their point-by-point measurement method is inherently suitable for inspecting prismatic parts with clear, accessible features. Optical probes, on the other hand, shine when the requirement is speed and complete surface data. They are ideal for capturing the entire geometry of complex, organic shapes—such as airfoils, automotive clay models, or sculpted surfaces—that would be impractical or extremely time-consuming to measure with a tactile probe. This makes optical scanning indispensable for reverse engineering, rapid prototyping, and comprehensive first-article inspection of complex components. The ability to generate a full 3D model quickly allows for direct comparison against the original CAD data across the entire surface, identifying global form deviations that discrete point measurements might miss.

The Power of Multi-Sensor CMM Systems
The most advanced measurement strategy often does not involve choosing one technology over the other, but rather integrating both onto a single platform. Modern multi-sensor Coordinate Measuring Machines (CMMs) can be equipped with both tactile and optical probes, along with a motorized probe changer. This allows for the strengths of each technology to be leveraged within a single inspection program. For example, an inspection might begin with a high-speed optical scan to quickly check overall form and identify any areas of potential concern. The machine can then automatically switch to a tactile probe to perform highly accurate, discrete point measurements on critical dimensions and features identified during the scan. This hybrid approach maximizes efficiency and data comprehensiveness. It ensures that the high-precision capabilities of tactile probing are used where they are most valuable, while the speed of optical scanning is harnessed for large-area inspection. This synergy provides a complete picture of part quality, combining the absolute accuracy of touch with the incredible detail of light, ultimately leading to more informed quality decisions and a more robust inspection process.

In conclusion, the debate between optical and tactile probes is not about finding a superior technology, but about selecting the right tool for the specific measurement task. Tactile probes remain the gold standard for high-precision geometric feature measurement, while optical probes offer unparalleled speed and detail for complex surface capture. The ultimate solution for comprehensive quality control lies in their strategic integration on multi-sensor CMMs. By understanding the distinct advantages of each, manufacturers can develop optimized inspection protocols that ensure both the meticulous verification of critical dimensions and the complete capture of complex forms, driving quality and efficiency in modern manufacturing.
